Digital workflow6 min read
A Five-Minute Scan Review to Run Before You Send the Case
Most scan problems are cheap to fix while the patient is still in the chair. Here is a short review routine for margins, contacts, bite, and file completeness.
A bad scan costs the least at the moment it is taken. If the problem is found before the patient leaves, the fix is a partial rescan that takes a few minutes. If the lab finds it the next morning, the fix is a phone call, a delayed case, and often a second appointment.
Most practices that scan already look at the screen. What many lack is a consistent routine, so the review depends on who is rushed and who is tired. This article lays out a five-minute review you can adopt this week, and what labs can do on their side to support it.
Why the review belongs at the chair
When a scan is rejected or questioned, someone has to interrupt their day to sort it out. The lab tech stops work, the office manager hunts down the doctor, and the case sits. Standard turnaround times assume a usable file arrives on day one, so every day lost to a scan question comes straight out of your seat date.
The review also protects the lab relationship. A lab that keeps getting files it has to question starts to treat your cases with caution, and that is not what you want from a partner.
Decide who does the review
The clinician decides whether a prep and its margins are acceptable. That is a clinical judgment and should not be delegated. But a trained assistant can run the rest of the checklist while the doctor is finishing up, and flag anything that looks off.
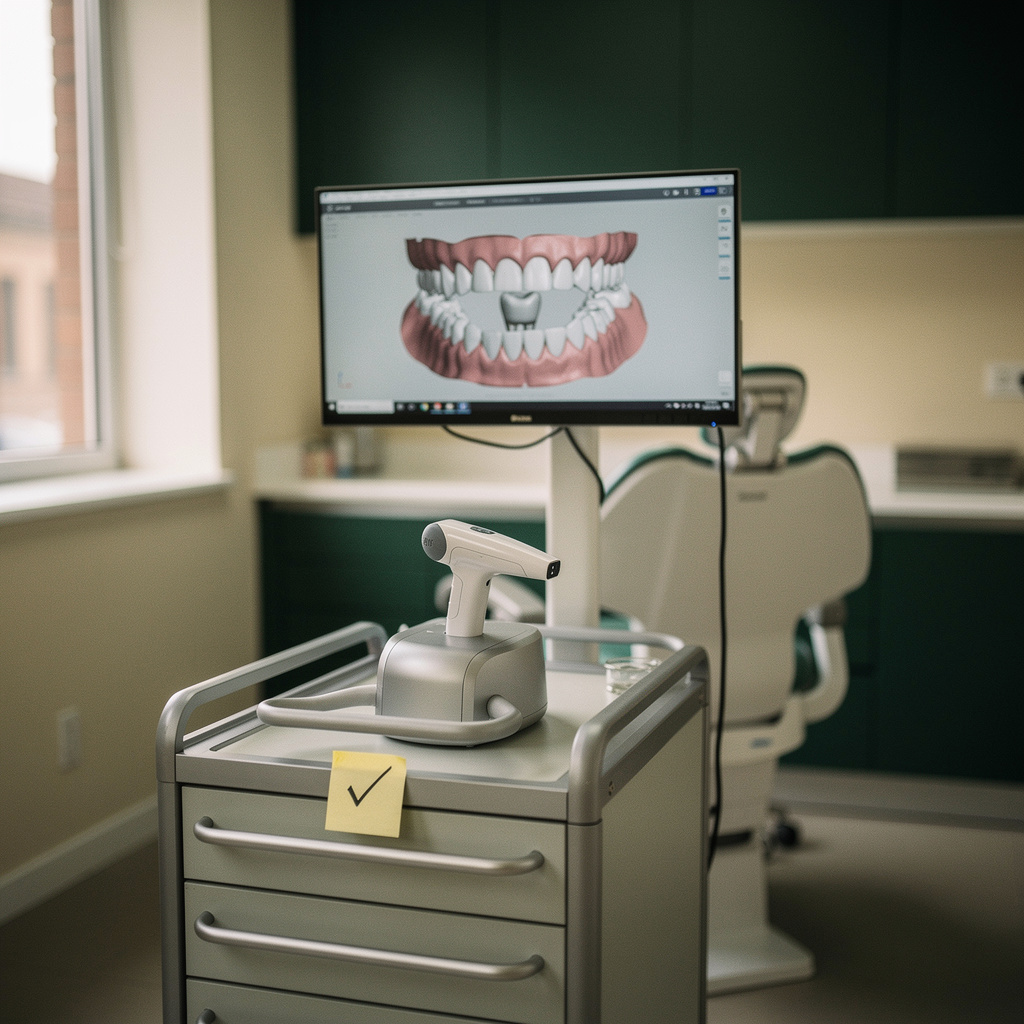
Pick one person per scan to own the review, and make it a habit that the case is not submitted until that person has initialed or ticked it off. A simple sticky note on the scanner cart works as a start.
The five-minute review
Work through these in the same order every time.
1. Margins and preparation
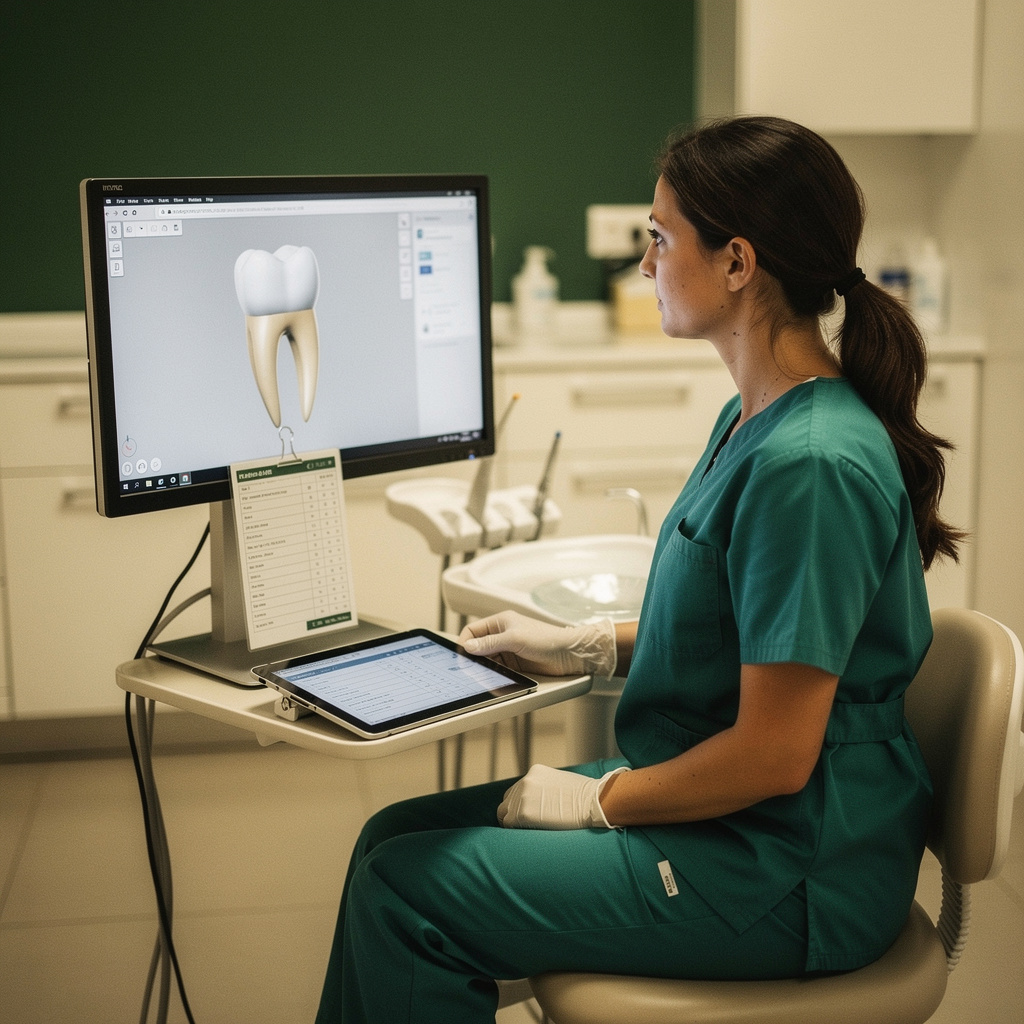
- Rotate the model and view the prep from several angles, not just the angle you scanned from.
- Look for a continuous, readable margin all the way around. Gaps, blurry edges, or a margin hidden under fluid, blood, or soft tissue are the common culprits.
- Check that the prep surfaces look smooth on screen, without spikes or rough patches that may be scan artifacts rather than real features.
- The doctor makes the final call on whether the margin is clear enough to design to. If there is any doubt, rescan that area.
2. Adjacent teeth and contacts
- Confirm the neighboring teeth are captured well enough for the lab to design contacts. A scan that stops right at the edge of the adjacent tooth leaves little for the designer to work with.
- Look at the interproximal areas on both sides for holes or missing data.
3. Opposing arch and bite
- Make sure the opposing arch has been captured in the area of the restoration, with enough surrounding teeth to be useful.
- Check the bite registration. Most scanning software has a view that shows how the arches meet. Look at it, and confirm the arches are not obviously misaligned or sitting open.
- If the bite scan looks different from what you saw in the mouth, treat that as a reason to redo it, not a detail for the lab to work out.
4. Surface quality and artifacts
- Scan the whole model for holes, doubled surfaces, stitching errors, or areas that look warped.
- Look for cheek, tongue, or retraction material that was captured as part of the model.
- Pay attention to areas that look suspiciously smooth or blobby. Those can be places where the software filled in data it did not actually capture.
5. Case information and attachments
- Does the patient name or ID on the scan match the prescription?
- Are the tooth number, restoration type, material, and shade filled in?
- Are any photos, such as shade photos, attached to the case?
- Is the file in a format the lab accepts? (If you are unsure, check with the lab before the appointment rather than after.)
Rescan only what you need to
A full rescan feels like a big job, so people avoid it and send a marginal file instead. In most scanning platforms you can rescan or trim a specific region and add new data to the existing model. Learn how your system does this, and make sure every assistant knows it too. If the fix is a 30-second partial rescan, the barrier to doing it drops sharply.
Leave a note for the lab
Sometimes a scan is as good as it will get, and the lab should know why. Examples of useful notes:
- A specific area where the margin was difficult to capture, and which view shows it best.
- A part of the opposing arch that was not fully captured.
- Anything unusual about the patient's mouth or the visit that affects how the file should be read.
Keep notes short and specific. A note that says to look at the buccal view near a certain tooth is far more useful than a general warning. Whether to proceed with a marginal scan remains the doctor's decision. The note simply makes sure the lab is working with the same information.
Track what comes back
A review routine only improves if you find out what it is missing. For the next month, keep a simple log of every case where the lab asked a scan-related question or remade a case for a fit issue. Record:
- The type of problem (margin, bite, missing data, wrong information).
- Which scanner and operator were involved.
- Whether the problem would have been visible on the chair-side review.
After a few weeks, patterns usually appear. One operator may need a refresher on bite scans. One scan tip may be wearing out. One case type may need an extra checkpoint. Fix the pattern and the checklist gets shorter and smarter over time.
For lab owners: help practices send better files
Labs have a stake in this routine too. A few things that tend to help:
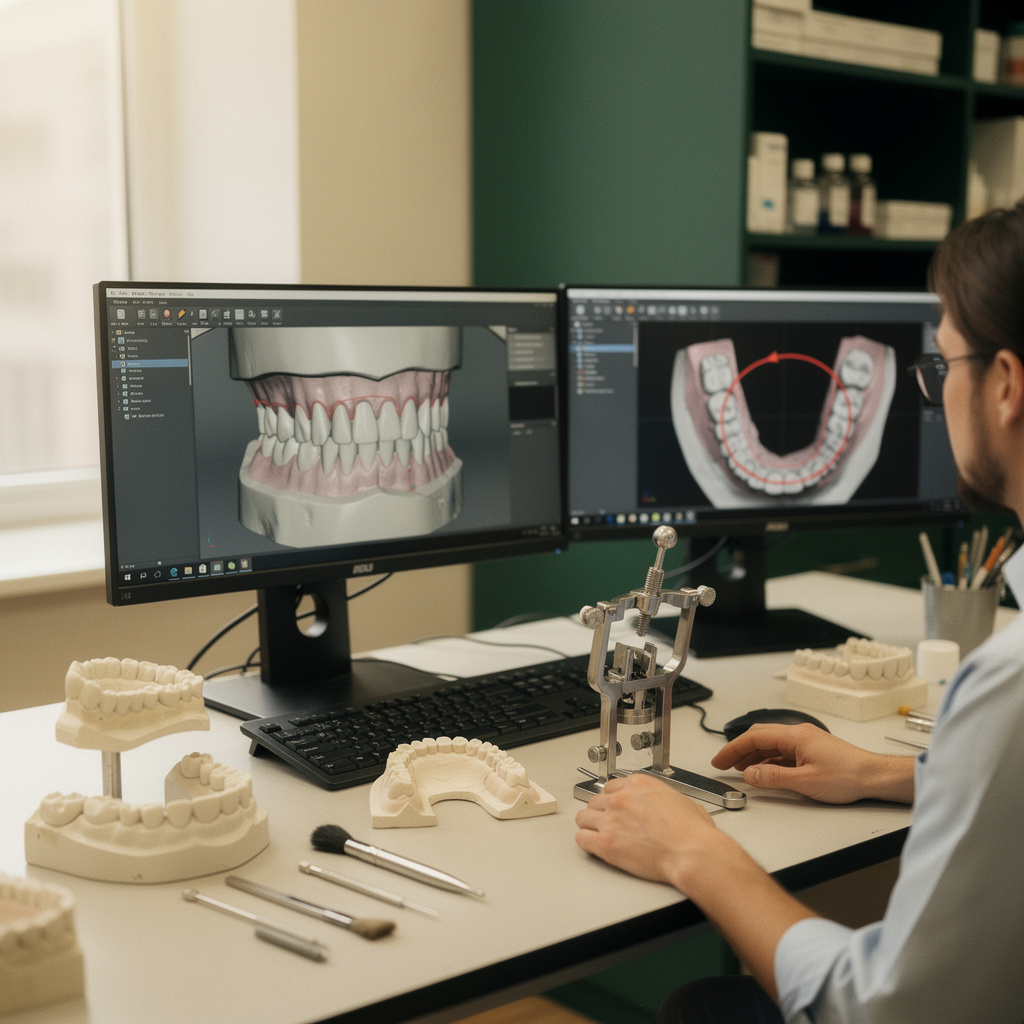
- Give practices a one-page list of what you will reject or question, in plain language.
- When you send a file back, include an annotated screenshot rather than a vague description. It teaches the practice and speeds up the fix.
- Tell practices which scanner settings or export options cause trouble with your design software.
- Respond to rescan requests quickly, so practices learn that flagging an issue early is worth the effort.
Putting it into practice this week
- Write the five checks above on a card and put it by every scanner.
- Assign one person per scan to run the non-clinical checks.
- Teach everyone how to do a partial rescan on your platform.
- Start the log of scan-related questions and remakes.
- Ask your lab for its list of common scan rejection reasons and compare it to your card.
When you compare labs, it is worth asking each one how it handles questionable scans: whether it calls, rejects, or designs anyway, and how fast it responds. On Dintle you can compare labs and see per-case prices up front, then send cases and track orders, so the lab's scan-handling policy is one more thing to weigh alongside price and turnaround.
The review will not catch everything, but it will catch the problems that are cheapest to fix, and it keeps those problems from becoming remakes and delayed seats.