Working with labs6 min read
Shade Photos Your Dental Lab Can Actually Use
A practical workflow for taking, labeling, and sending shade photos so your lab can match anterior restorations without guesswork or avoidable remakes.
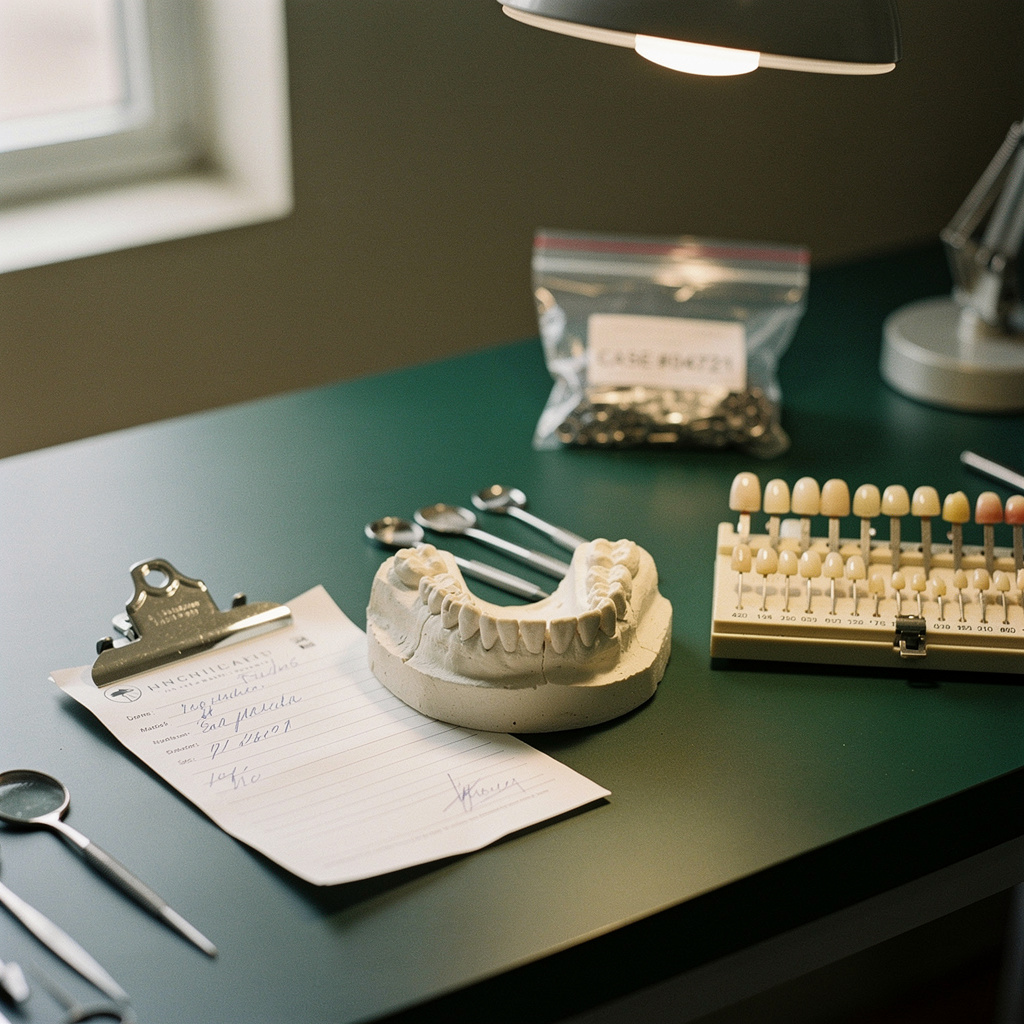
A shade mismatch is one of the more frustrating problems to trace back. The lab made what the prescription said. The practice picked a tab that looked right in the operatory. The patient sees something different in the mirror at the seat appointment. Often the gap comes from the information that traveled between the chair and the bench, not from either person's skill.
This article covers one fixable piece of that: the photos and notes that go with a shade request. None of this replaces the clinician's judgment about the shade itself. It is about making sure that judgment reaches the technician intact.
Why shade photos often fail the lab
A photo that looks fine on the chairside monitor can still be close to useless at the bench. The common problems are consistent:
- Mixed lighting. Overhead operatory light, window light, and the camera flash all push color in different directions, and the lab cannot tell which one dominated.
- Inconsistent white balance. Phone and camera auto settings shift from shot to shot, so two photos of the same tooth can look like different shades.
- The tab is too far from the tooth. If the tab sits in a different plane or is partly hidden, the technician cannot compare the two.
- Only one image. A single close-up shows color but not shape, texture, or how the tooth sits in the smile.
- No label. The technician does not know which tab was selected, which guide it came from, or which tooth is the target.
Most of these are habits, not equipment problems.
Build a repeatable photo routine
The goal is for every shade photo from your office to look like it was taken under the same conditions. Then your lab learns how to read your photos, and any drift stands out.
- Pick one device and keep using it. A dedicated camera or a specific phone, not whichever is closest.
- Standardize the distance and angle. Mark where the operator stands or sits if that helps. Aim for the same framing each time.
- Control the light. Take shade photos before the operatory light is angled onto the patient, or use the same light position every time. Avoid mixing in window light on some days and not others.
- Use a neutral background. Keep bright bibs, colored gloves, and lipstick out of the frame where possible.
- Do not rely on auto edits. Skip filters, beauty modes, and heavy cropping. If your camera lets you lock white balance, do so.
- Take shade photos early. Teeth can look different as they dry out over the course of an appointment. How you handle that is a clinical call, but taking the shade near the start of the visit is a common workflow choice.
If your lab has its own photo guidance, follow it over any generic advice. They know what works with their process.
The set of images to send
For a single anterior restoration, a short, consistent set usually serves a lab better than one perfect image. A reasonable standard set:
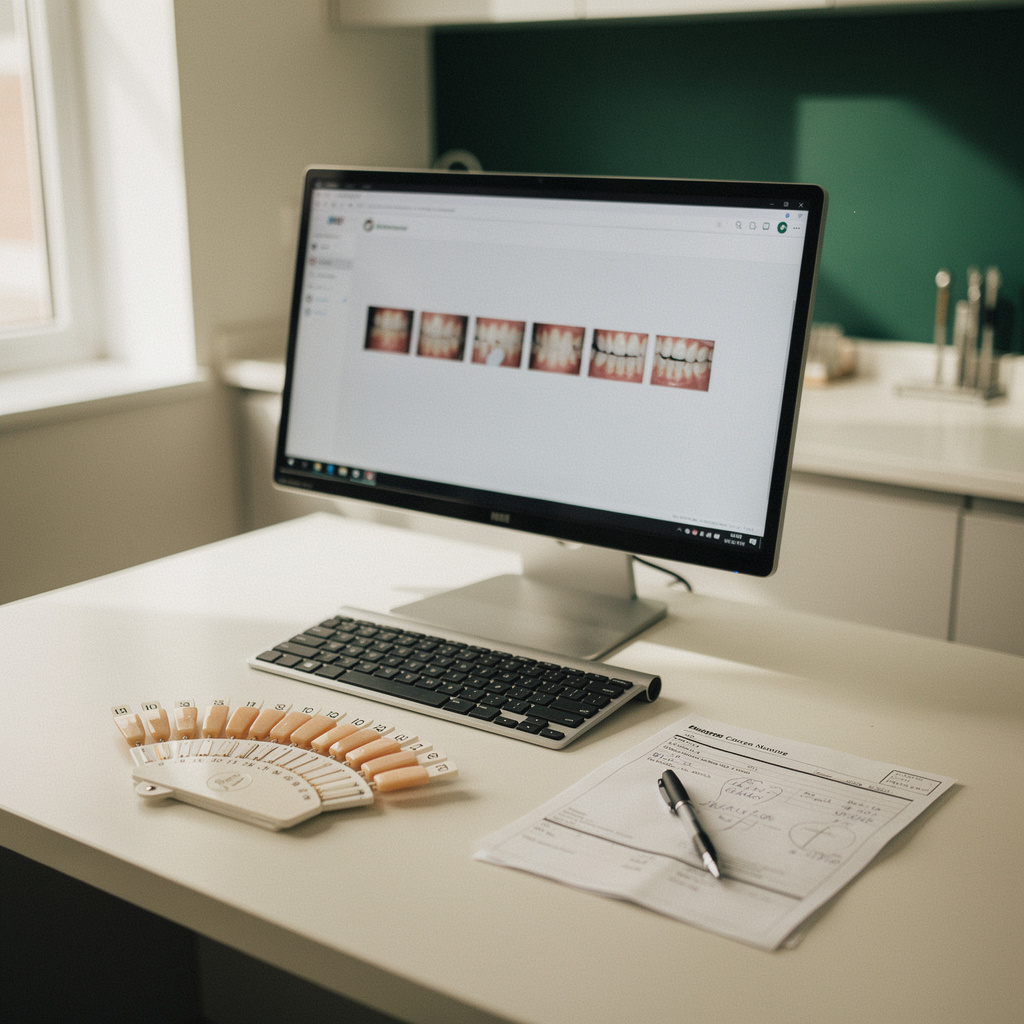
- Context shot. A smile or lips-at-rest view, with patient consent, so the technician sees tooth proportions and how the restoration sits in the face.
- Retracted anterior view. The adjacent and opposing teeth in frame, showing overall color and characterization.
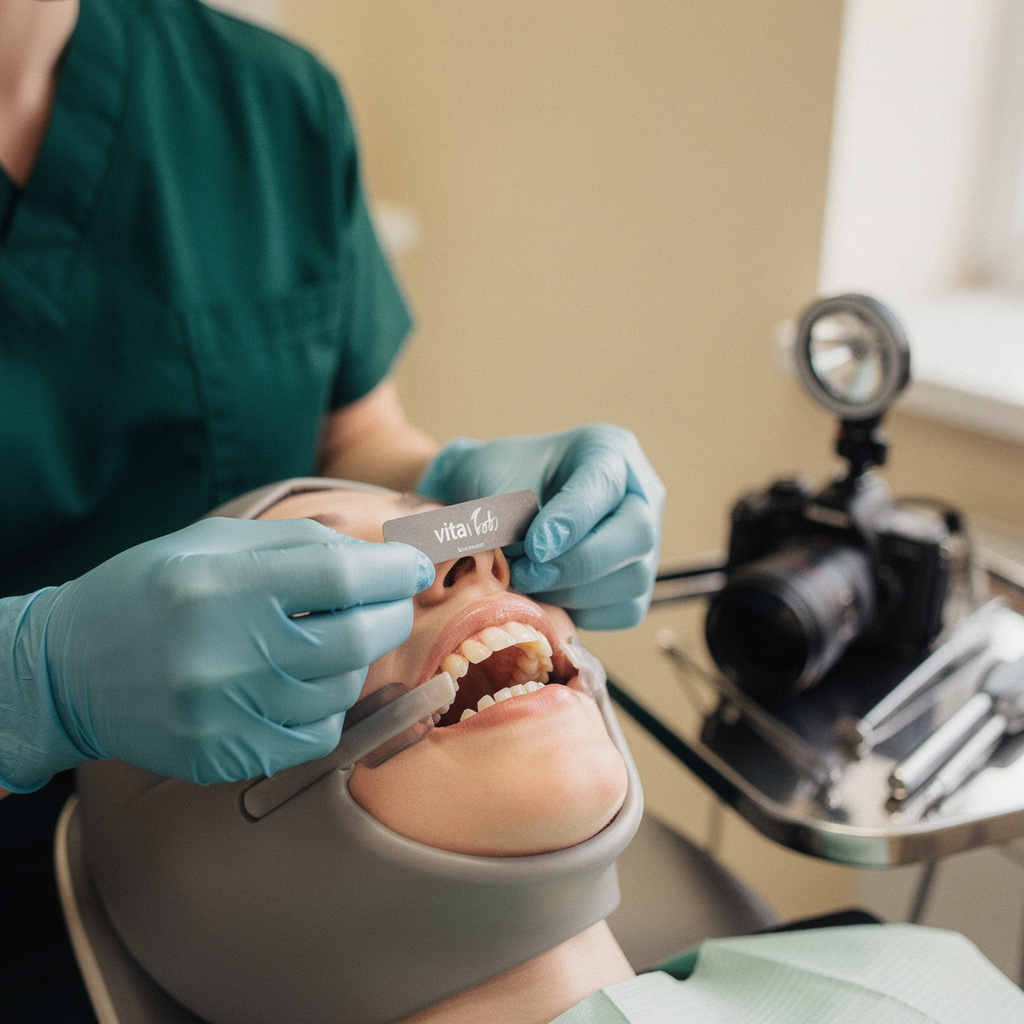
- Tab-and-tooth close-up. The selected tab held edge to edge with the target tooth, in the same plane, with the tab number visible.
- Neighboring-tab comparison. If you were choosing between two shades, include both tabs so the technician sees your reasoning.
- Prep or stump shade. For crowns, a photo of the prepared tooth with a tab, since the underlying color affects material choice.
- Optional grayscale image. Some labs ask for a black-and-white version to judge brightness separately from hue. Send it only if your lab requests it.
Name the files or label them in the case record so nobody has to guess which image is which.
Write the shade note like a handoff
A photo shows color. A note explains intent. Without it, the technician is reverse-engineering your decision. A useful shade note includes:
- Shade guide used. Name the system, since tab numbers mean different things in different guides.
- Selected shade by zone. Cervical, body, and incisal, where they differ.
- Stump or prep shade. Especially for crowns and veneers.
- Characterization. Mamelons, translucency, white spots, craze lines, or a halo at the incisal edge, whichever apply and whichever the patient wants matched or not matched.
- Lighting at time of photo. A short line such as "operatory light, no flash" is enough.
- Patient preference. If the patient wants to be brighter or more natural than the neighbors, say so directly.
Here is a short example of the tone to aim for:
Shade guide: 3D-Master. #8 body 2M1, cervical 2M2, incisal slightly translucent with a faint halo. Match to #9. Stump shade moderately darker than adjacent dentition. Photos taken in operatory light, no flash. Patient prefers a natural look over brighter.
That takes under a minute to write and removes several rounds of questions.
Know when to move beyond photos
Photos have limits. For high-visibility or complex cases, such as multiple adjacent anterior units, unusual characterization, or a difficult stump, consider other options:
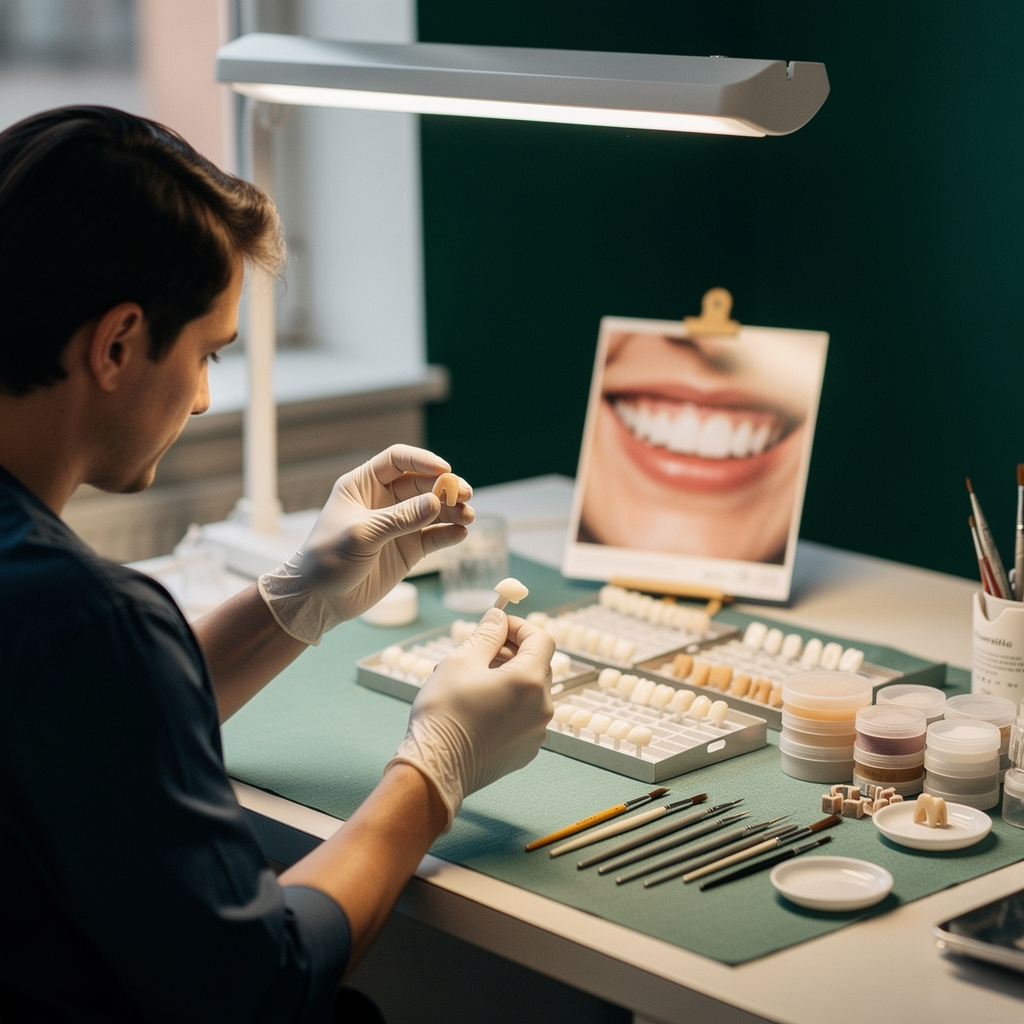
- Ask whether the lab offers a shade appointment or will work with the patient directly. Availability and any added fee vary by lab, so ask before you need it.
- Send a try-in or a bisque stage case if your lab supports that and the case warrants it.
- Call the technician while the patient is still in the chair, so questions get answered before the visit ends.
The extra effort is easier to justify before fabrication than after a remake.
Close the loop when the result is off
When a restoration comes back and the shade is not right, vague feedback like "too dark" or "doesn't match" gives the lab little to work with. Instead:
- Photograph the restoration beside the same tab, using your standard routine.
- Describe the direction of the difference: brighter, warmer, grayer, more or less translucent, or a different incisal effect.
- Reference your original photos and note so the technician can compare what was sent with what was made.
- Keep a short internal log of shade issues by lab and case type. Patterns show up quickly, such as problems on one material or one technician.
This feedback also protects both sides in a remake discussion, because it separates a communication gap from a fabrication error. Treat it as information for improvement, not blame.
A quick checklist for this week
- Choose one camera and one photo position, and write them down for the team.
- Decide on the standard set of images and train every assistant who takes them.
- Add a shade note template to your prescription workflow with the fields above.
- Ask your lab what photo format, resolution, or extras they prefer.
- Pick one upcoming anterior case and run the full routine from start to finish, then ask the lab whether it helped.
Choosing a lab with shade support in mind
How a lab handles shade communication is worth asking about when you compare labs: whether they give photo guidance, accept shade appointments, and respond quickly to questions. If you are evaluating options, Dintle lets you compare dental labs and see per-case prices up front, then send and track cases in one place. Pair that with a few direct questions about shade support, and you will have a clearer picture of who fits your practice.