Restorations6 min read
What to Send Your Lab for an Implant Crown Order
Implant crowns stall when component details are missing. Here is what to put on the order, what to confirm with your lab, and how to avoid avoidable delays.
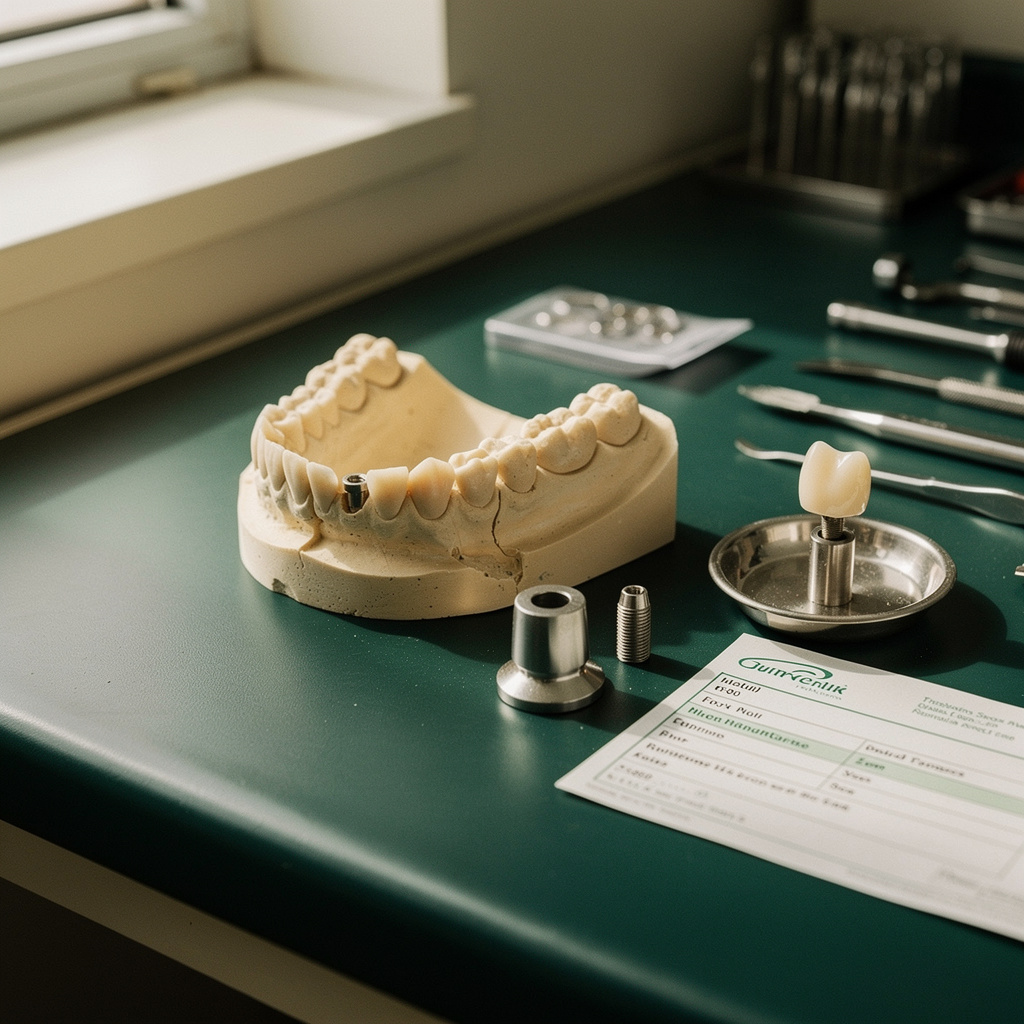
Implant crowns generate more back-and-forth with the lab than almost any other restoration. A tooth-supported crown depends on a prep and a shade. An implant crown also depends on a specific implant system, a specific platform, a specific scan body, and a decision about how the crown will connect. If any of those is unclear, the lab has to stop and ask, and the case sits.
This article covers what to put on an implant crown order, what to confirm with your lab before you send the first case, and where mismatches usually creep in. Treatment decisions, such as restoration type and materials, belong to the treating clinician. This is about getting those decisions to the lab in a form they can act on.
Why implant orders stall
Most delays come from a short list of problems:
- The implant brand and platform are not stated, or are stated loosely ("regular platform" means different things across manufacturers).
- The scan body or impression coping used is not identified, so the lab cannot confirm the right digital library or analog.
- The order does not say whether the crown is screw-retained or cement-retained, or who is providing the abutment.
- Nobody is sure who supplies the screw and who owns the torque specification.
- Soft tissue information is missing, so the lab designs the emergence profile blind.
None of these is hard to fix. They just need to be on the order every time, not only when someone remembers.
The information to include
1. Implant system and connection
List the manufacturer, product line, platform or diameter, and connection type as printed on your implant records or the surgeon's report. If the implant was placed elsewhere, request the implant card or surgical record before you schedule the restorative visit. Guessing from a radiograph is a common source of wrong components.
2. Scan body or impression coping
Name the product and, if you can, the part number. For digital cases, the lab needs to match the scan body to the right library file. Scan body brands that look similar can have different geometry. For analog cases, state which coping type you used (open tray or closed tray) and confirm that an implant analog is included or will be supplied.
3. Restoration and retention type
State what the clinician has chosen. Common options include:
- A screw-retained crown directly on the implant or on a multi-unit style component.
- A crown bonded to a titanium base (often called a hybrid abutment crown).
- A custom abutment with a separately cemented crown.
- A stock abutment with a crown.
If the clinician has not decided, say so and ask the lab what they need to see to advise on options. Do not leave the field blank and hope the lab picks.
4. Who supplies which component
Write out clearly:
- Who provides the abutment or titanium base (lab or practice).
- Who provides the screw.
- Whether the lab should use original manufacturer components or a compatible alternative, if your practice has a preference.
Torque values come from the component manufacturer and the clinician. The lab may note them in the paperwork, but the practice is responsible for following the manufacturer's instructions at delivery.
5. Crown material
Specify the material the clinician wants, such as monolithic zirconia, layered zirconia, lithium disilicate, or another option your lab offers. If the clinician wants the lab's recommendation for a tight space or heavy bite, say that and include the clearance measurement or a clear scan of the opposing arch.
6. Screw access position
For screw-retained crowns, tell the lab where you expect the access hole to sit, and whether you want it on the occlusal surface or elsewhere. If the angulation makes this uncertain, flag it and let the lab show you a design preview before milling.
7. Soft tissue and emergence
Send the healing abutment type and size, and a scan or photo of the tissue contour. If you are capturing tissue with the healing abutment removed, note it. If you are using a provisional to shape the tissue, send the provisional's scan or the provisional itself so the lab can replicate the emergence profile. Without this, the lab designs to the scan body and tissue as scanned, which may not match what the clinician intends.
8. Occlusion, contacts, and shade
The usual items still apply: opposing arch scan or model, bite registration, adjacent contact expectations, and shade documentation. If shade is part of the case, follow the same photo discipline you use for any anterior restoration.
Before you send: a quick verification
A short routine at the chairside or scanner catches most mismatches:
- Confirm the implant records match what you wrote on the order.
- Check that the scan body is the exact one you named, undamaged, and from a clean, in-date supply.
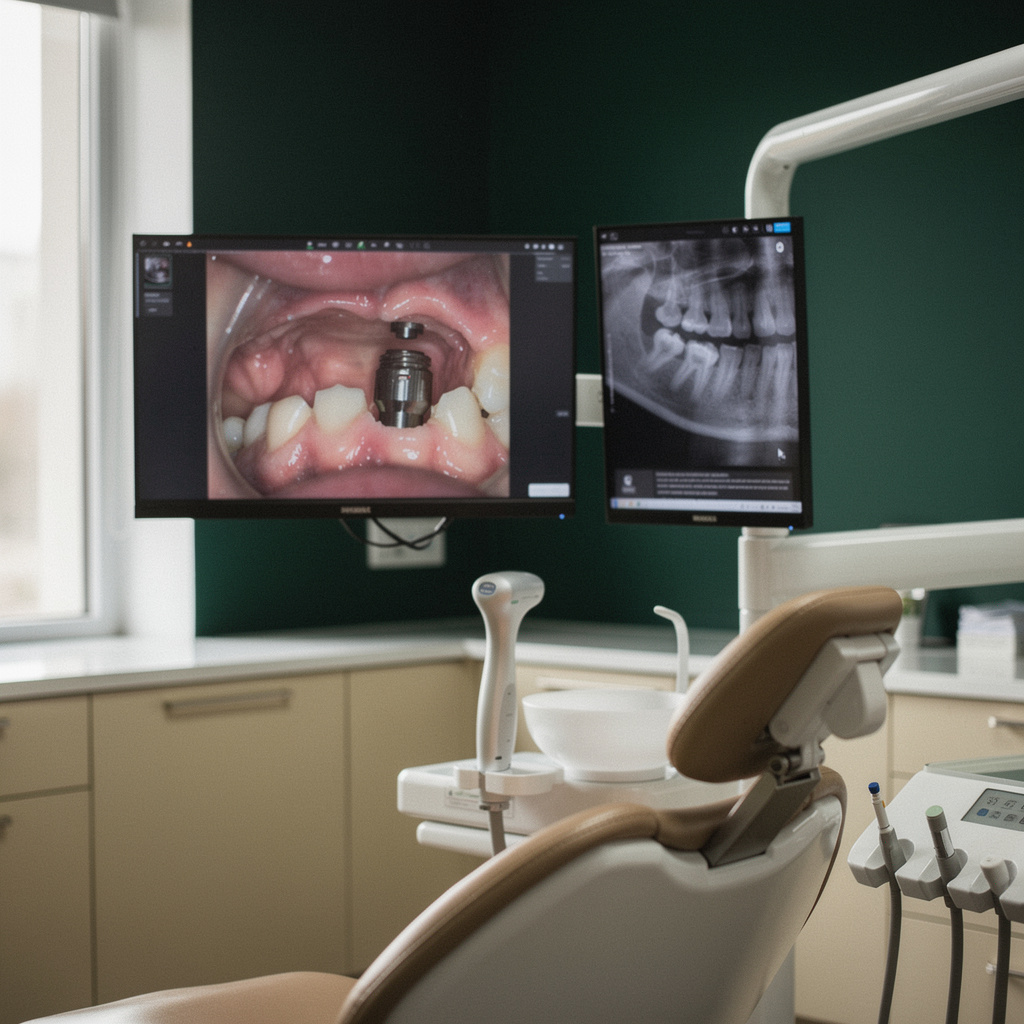
- Confirm the scan body is fully seated using whatever method the clinician uses, which may include a radiograph.
- Review the scan for the scan body's full geometry, adjacent teeth, and the opposing arch before submitting.
- Photograph the case, including the healing abutment or tissue if relevant.
A scan body that is not fully seated is a classic cause of a crown that does not fit. It is much cheaper to rescan than to remake.
Questions to settle with your lab once
Rather than discover answers case by case, ask the lab these questions up front:
- Which implant systems and scan body libraries do you support?
- Do you stock titanium bases and screws, or do they need to be ordered per case? How does that change turnaround?
- Who pays for components, and how are they listed on the invoice?
- If a component does not fit because the order information was wrong, who covers the remake? What if the order was correct but the component was faulty?
- How do you want soft tissue information sent?
- Will you send a design preview for screw access and emergence before milling, and is that available on a standard timeline?
Write the answers down and keep them with your lab's contact information so the whole team uses the same expectations.
A simple order block you can reuse
If your prescription form does not have good fields for implants, add a block like this to your template or case notes:
- Implant manufacturer, line, platform, connection:
- Scan body or coping product and part number:
- Restoration type (screw-retained, ti-base, custom abutment, stock abutment):
- Abutment and screw supplied by (lab or practice):
- Crown material:
- Screw access position:
- Healing abutment or provisional used for tissue:
- Notes on emergence, contacts, and occlusion:
Having this ready means a new team member can fill out an implant order correctly without hunting for what the lab needs.
Choosing a lab for implant work
Not every lab handles every implant system with the same comfort. When you compare labs for implant crowns, look at supported systems, how they handle components, their stated turnaround for cases that need parts ordered, and how they define remake responsibility. A marketplace like Dintle lets you compare labs and see per-case pricing up front, which makes it easier to line up those answers side by side before you send a case.
The practical takeaway: put the implant details, retention type, and component responsibilities on every order, verify the scan body seating before you send, and settle component and remake policies with your lab once so they are not renegotiated each time.